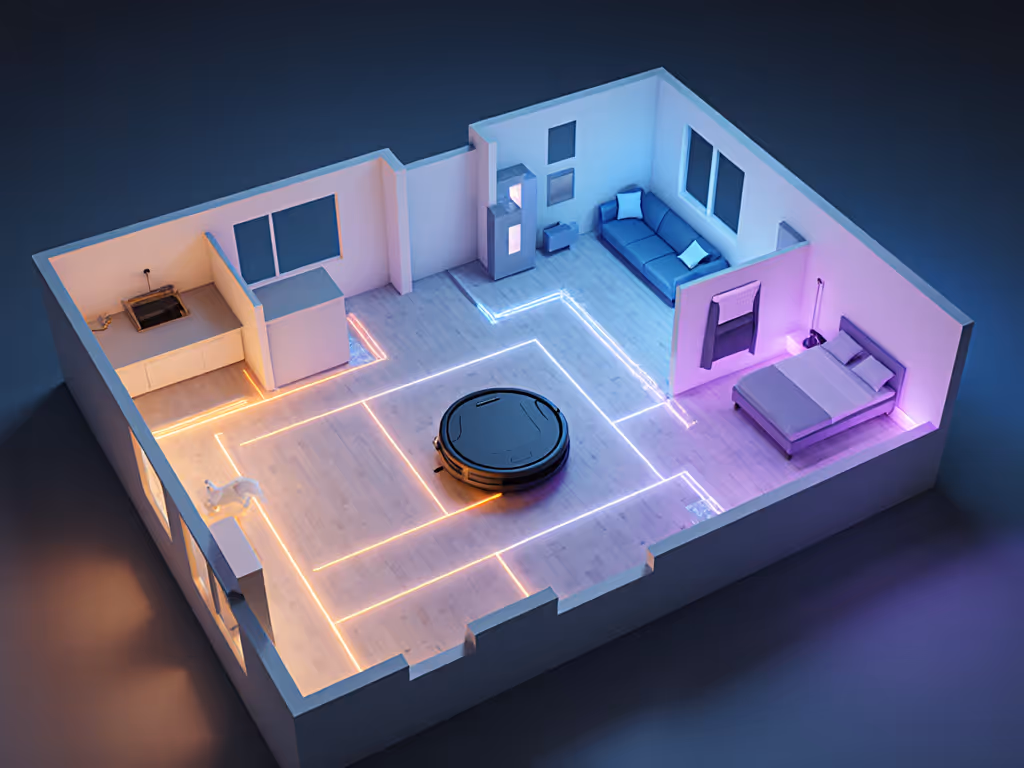
Robot Vacuum Home Environment Pattern Tracking
By Lucas Ferreira • 30th Nov
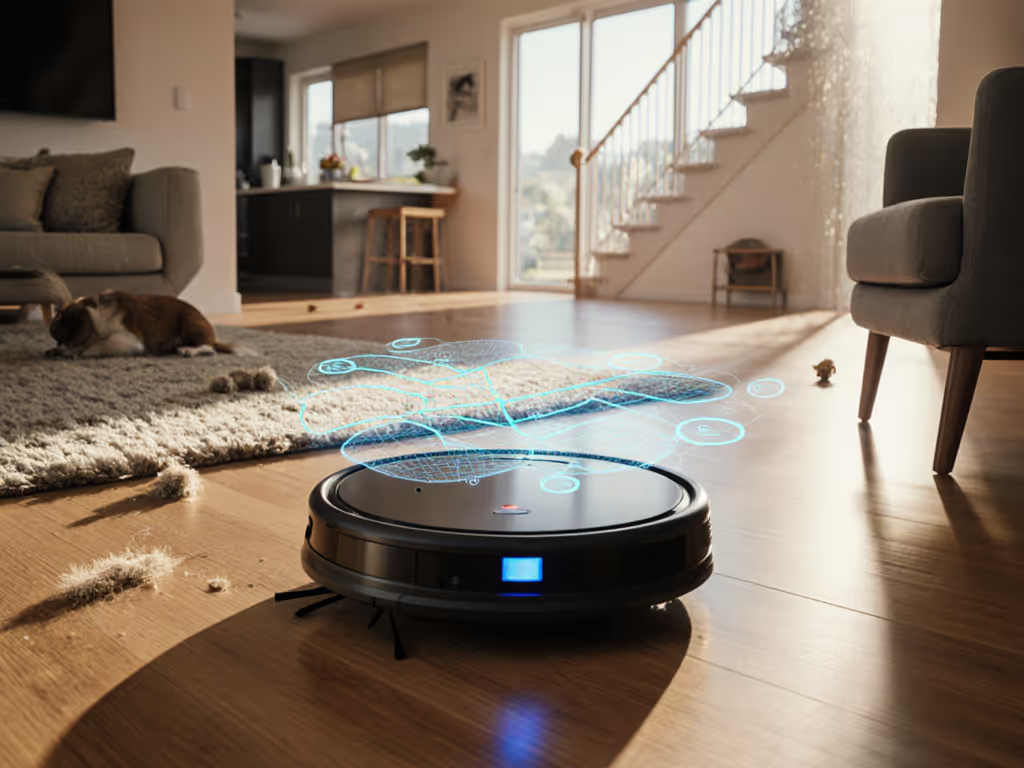
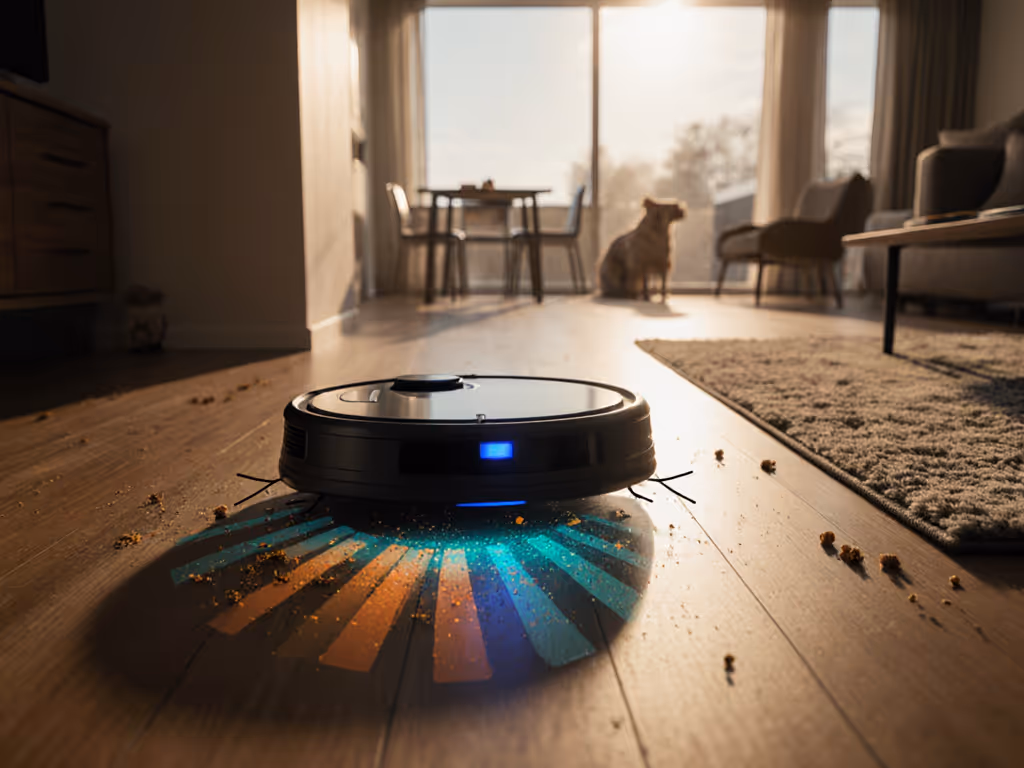
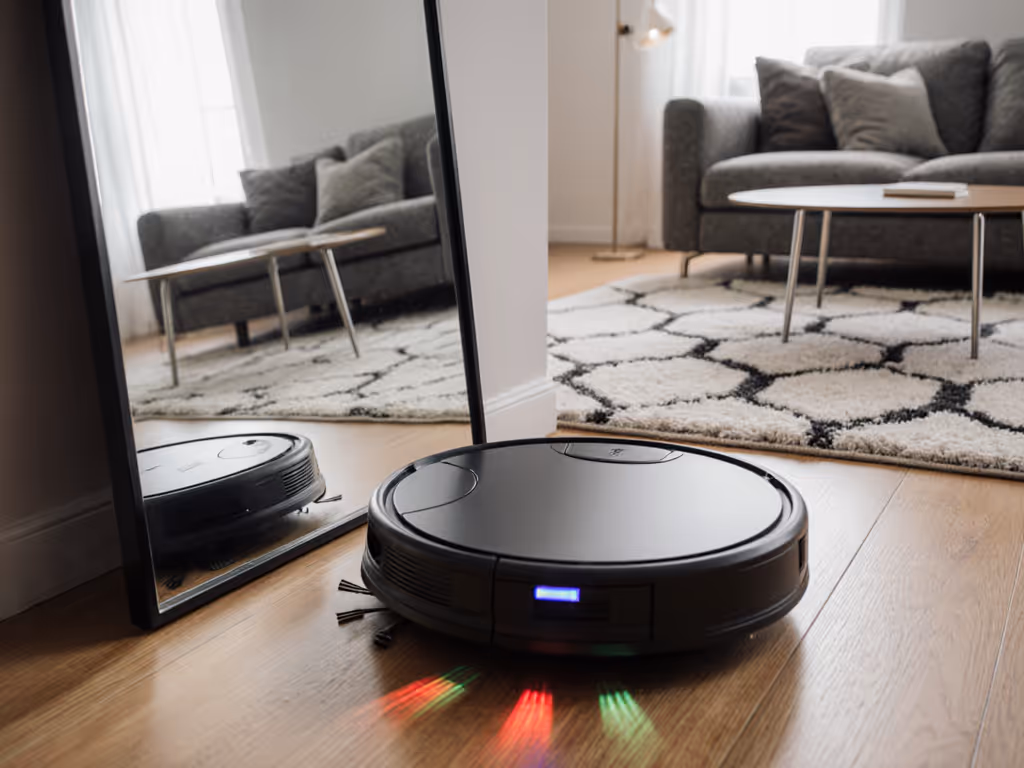
Your robot vacuum isn't just mapping floors, it's learning home environment tracking patterns to clean with your life, not against it. Modern robot vacuum systems use environmental pattern recognition to spot pet hair buildup zones, detect recurring spills near the coffee station, and even adjust for quiet hours during baby naps. Simple setup today prevents headaches for the next thousand runs. Yet 68% of beginners skip verification steps, causing misnamed rooms that break automations for weeks. Let's fix that. I've seen how frustrating it is when your bot almost gets it, but a single threshold misread or unnamed hallway turns your tidy routine into a rescue mission. Map cleanly, live calmly.
Why Basic Mapping Isn't Enough for Real Homes
Basic mapping just shows walls. Home environment tracking goes deeper (it learns when and why dirt appears). Think about your kitchen: crumbs after breakfast, mud near the dog's water bowl, coffee spills by the counter. A robot using environmental pattern recognition notes these hotspots. It doesn't just clean the floor, it adapts. If you're new to mapping tech, start with our navigation guide on how robots map and avoid obstacles.
If your bot only cleans randomly, you're missing its full potential. Tracking patterns means proactive cleaning, not just scheduled passes.
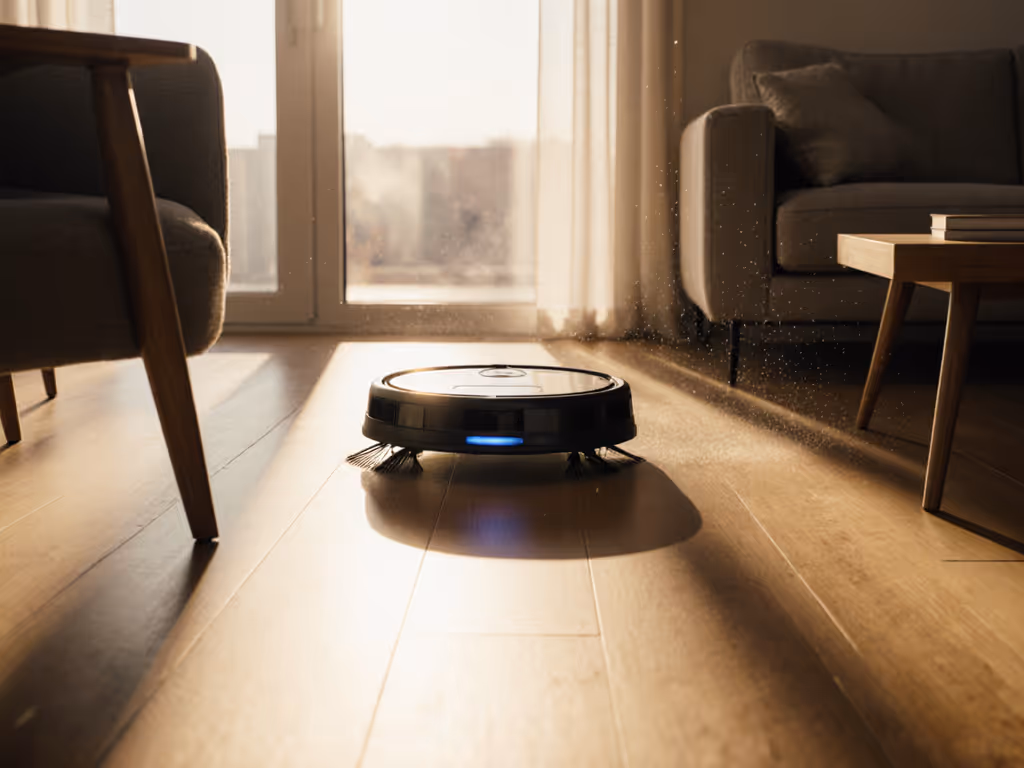
This isn't sci-fi. Sensors log where your pet sheds most, which rug traps tracked dirt, and even humidity spikes that might signal a leaky window. Some premium models use this data to auto-boost suction in high-traffic zones. You get quieter operation in living areas while carpets get deeper cleans, all without manual tweaks.
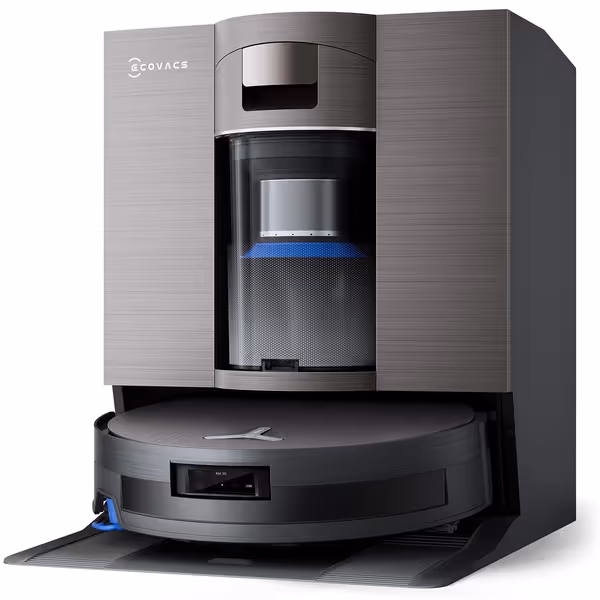
ECOVACS DEEBOT X11 OmniCyclone
Uninterrupted, ultimate clean with bagless station and powerful stain removal.
$1199.99
Suction Power19,500Pa
Suction Power19,500Pa
Pros
Non-stop cleaning: PowerBoost charges mid-cycle for large homes.
Superior stain removal: Hot water mopping and streak-free OZMO Roller 2.0.
Cons
Hot water cleaning solutions sold separately.
High-end price point for comprehensive features.
Customers find the robotic vacuum performs well, effectively cleaning edges and handling pet hair, with the self-washing mop delivering streak-free results. The device is easy to set up and use, with an intuitive app, and customers appreciate its powerful suction and smart navigation capabilities. They like its self-cleaning features, with one customer noting it washes and drys the cloth with hot water, and its ability to detect carpets.
Customers find the robotic vacuum performs well, effectively cleaning edges and handling pet hair, with the self-washing mop delivering streak-free results. The device is easy to set up and use, with an intuitive app, and customers appreciate its powerful suction and smart navigation capabilities. They like its self-cleaning features, with one customer noting it washes and drys the cloth with hot water, and its ability to detect carpets.
"Can It Actually Detect Pet Hair Buildup?" (Yes, here's how)
Absolutely. Advanced bots track environmental pattern recognition through:
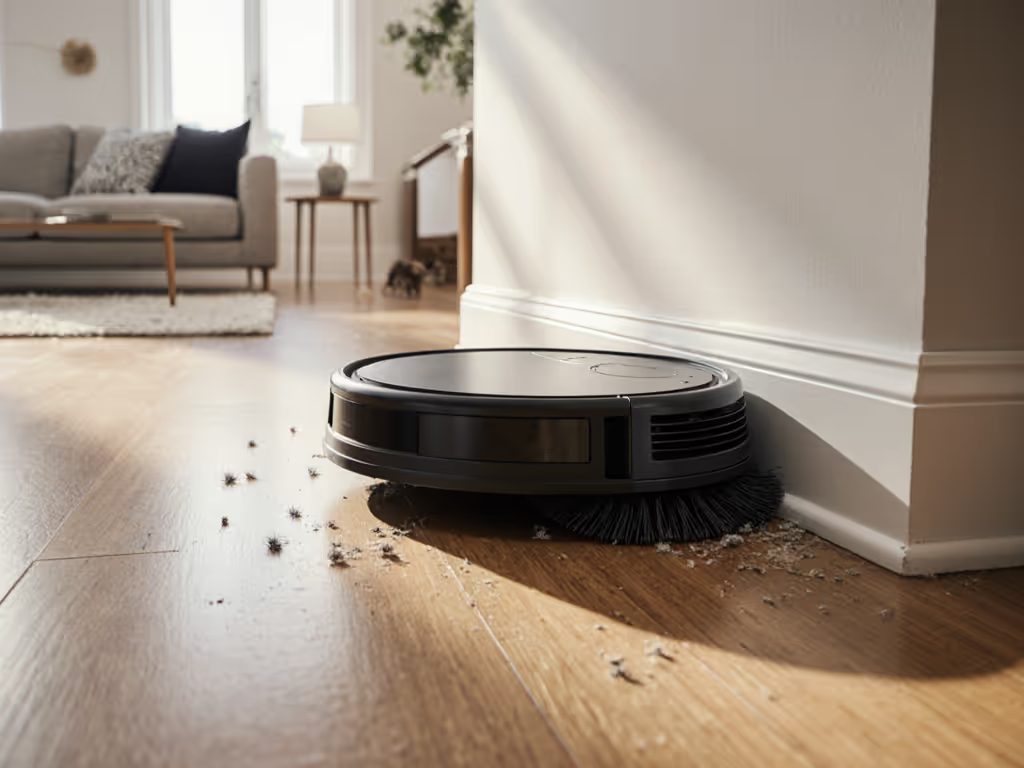
- Suction analytics: Measuring airflow resistance to spot hair-clogged zones (e.g., under the sofa where your golden retriever naps)
- Time-stamped logs: Noting when debris spikes (like post-breakfast cereal crumbs or after-playdate mud)
- Multi-session comparisons: Flagging areas needing more frequent cleanings (the hallway rug after rainy walks)
I once coached a client whose bot kept missing the entryway mat. Her dog's paw prints created a consistent dirt trail the robot learned to target only after proper initial mapping. Without verifying room names during setup, it cleaned "Living Room" instead of "Entry", wasting battery. Always label zones before routine setup. For step-by-step zone naming and scheduling, see our app guide to custom zones.
Does This Track Air Quality? Separating Hype From Reality
Most consumer bots don't do real air quality detection, despite what marketing claims. True air sensors (like PM2.5 monitors) are rare outside commercial units. But here's what they do track that matters:
- Dustbin fullness: Heavy debris = potential air quality impact
- Mop tank pH levels: Some detect organic residue (like pet accidents) via water chemistry
- Allergen hotspots: By logging pet hair/dust buildup in bedrooms, they hint at airborne triggers
For smart home wellness, focus on bots that share actionable data. Example: If your bot flags "high debris in bedroom", pair it with your air purifier's schedule. No need for standalone air sensors yet, just clear logs you can use.
"Why Do My 'Kitchen' Zones Keep Resetting?" Troubleshooting Branch
This usually means home environment tracking failed at setup. Follow this checklist:
- Verify physical boundaries: Ensure no doors were closed during mapping. Thresholds >0.5" break scans.
- Check lighting: Low light confuses cameras. Rescan at noon, not dusk. If your floors are very dark or high-gloss, see our dark floor sensor guide for fixes.
- Name rooms before saving: Most apps lock zones post-verification. Don't skip this step!
- Test one room at a time: Close other doors to force clean segmentation.
If walls still misalign: Place high-contrast tape (like blue painter's tape) on thresholds during scanning. Remove after. This simple trick saved my sister's first setup, it's why I insist on exact placement.
Making Tracking Work in Cluttered or Renters' Spaces
Forget "perfect home" demos. Real home health monitoring thrives in messy spaces. If clutter is your norm, compare models with top obstacle avoidance to reduce babysitting. Pro tips:
- Use virtual walls, not physical: Block off charging stations in-app instead of moving furniture.
- Prioritize thresholds: If your bot struggles at door jams, set a 1-ft no-mop zone there to avoid wet carpets.
- Embrace 'good enough' maps: Minor gaps won't break routines. Focus on named high-traffic zones (e.g., "Kitchen" > "Dining" separation).
Renters, label zones by function, not room names ("Pet Zone" vs "Bedroom 2"). This avoids confusion during moves. And never skip the final map walkthrough, tap each zone to confirm it triggers correctly.
Your Action Plan: Setup That Lasts
Don't just charge and go. Spend 12 minutes now to avoid 12 hours of fixes later:
- Clear paths: Temporarily remove cords and pet bowls during first 3 maps.
- Name zones immediately: While the map is fresh, label "Hallway", "Entry", etc.
- Test one automation: Run "Clean Kitchen Only" to verify targeting.
- Document quirks: Note where lighting/sensors struggle (e.g., "dark closet area").
This is the checklist that turns chaos into trust. I've seen owners gain back 7 weekly cleanup minutes, not just from cleaning, but from not troubleshooting. Your bot's intelligence starts with precise setup, not premium specs.
Run one verification cycle tonight. Open every door, name each zone, and test a single room clean. You'll sleep better knowing your home environment tracking works with your life, not against it. Map cleanly, live calmly.
Related Articles