Reliable Robot Vacuum Navigation: How It Maps & Avoids
By Lucas Ferreira • 3rd Oct
Ever wonder how robot vacuums navigate your actual home, not some showroom demo? That little disc isn't just bumping around blindly. It's building maps, dodging dog toys, and learning your thresholds. When done right, a robot vacuum becomes your silent chore partner. But mess up the setup, and you'll babysit it daily. Simple setup today prevents headaches for the next thousand runs. Let's cut through the confusion.
Why Navigation Matters More Than Suction Power
Suction specs look great on paper. But if your robot can't see your space? It'll miss corners, spin in hallways, or ditch cleanup mid-cycle. Real homes have dark rugs, chair legs, and hallway thresholds, which can break basic navigation. You need tech that adapts, not just vacuums. And here's the thing: good navigation = less time managing, more time saved.
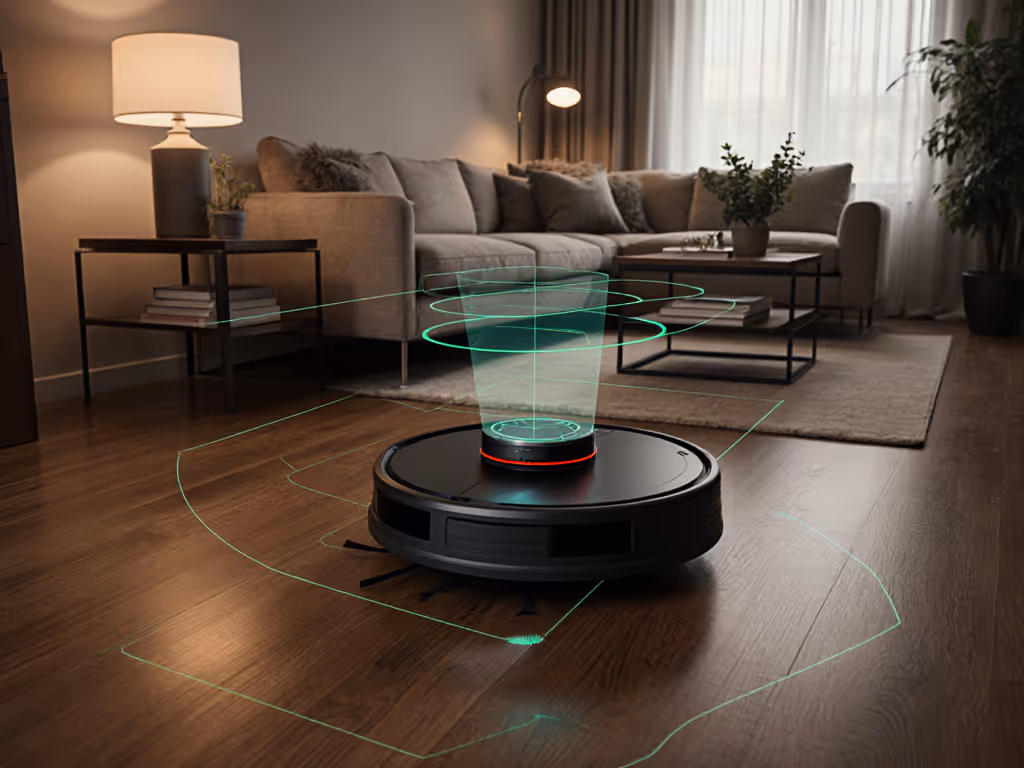
How Robot Vacuums Actually Map Your Home (No Tech Jargon)
Q: What's the difference between LiDAR and camera-based navigation?
A: Think of LiDAR as your robot's flashlight vs. a camera's eyeball.
-
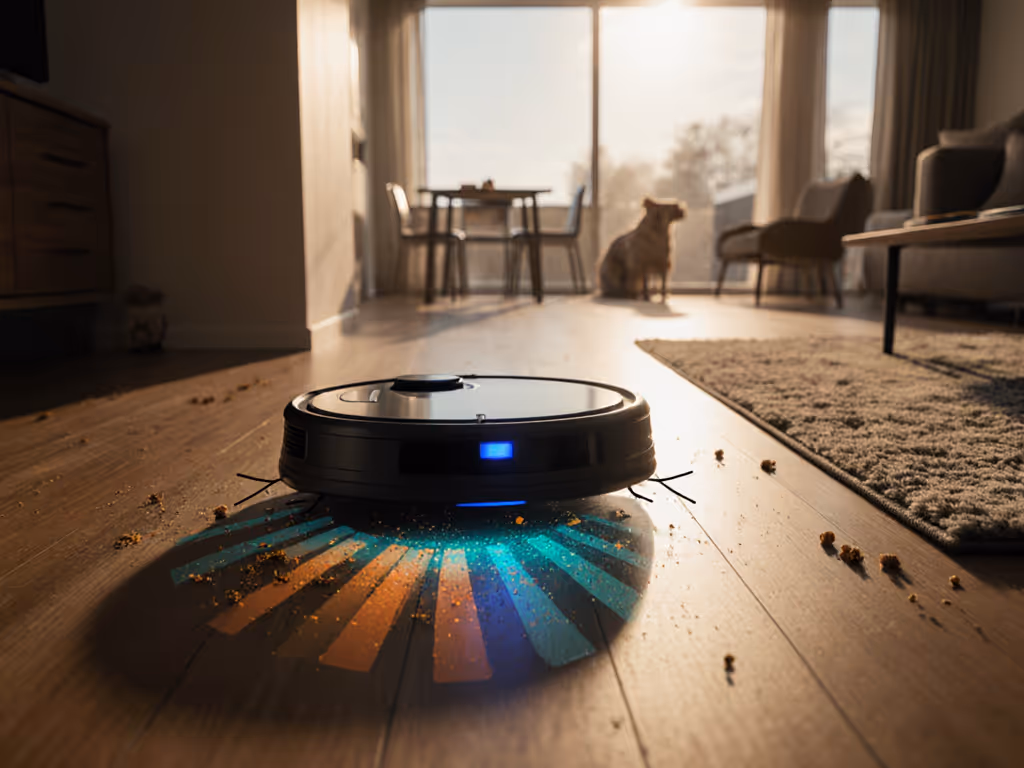
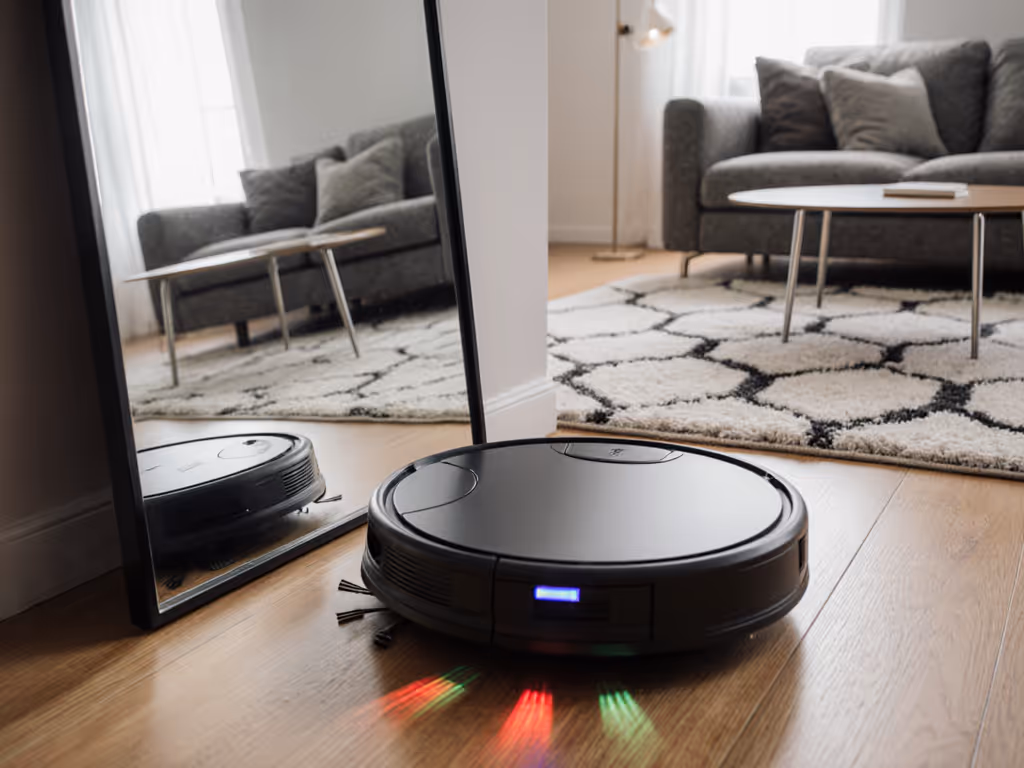
LiDAR robot vacuum: Spins a laser beam (like a lighthouse) to measure distances. Works day/night, ignores lighting tricks. Real-world win: Doesn't get confused by black rugs or glass tables. Accuracy is ±2cm, so it maps door frames and furniture legs reliably. Best for: Dark hallways, mixed lighting, or homes with mirrors.
-
Camera-based navigation: Uses phone-like cameras + AI. Real-world snag: Struggles in low light or with reflective surfaces (looking at you, glass coffee table). Needs visual clues to orient itself, so dim rooms = missed spots.
Key takeaway: LiDAR is the gold standard for reliable mapping. If your space has tricky lighting or dark floors, prioritize it. Your app will show a clean, complete map, with no ghost zones.
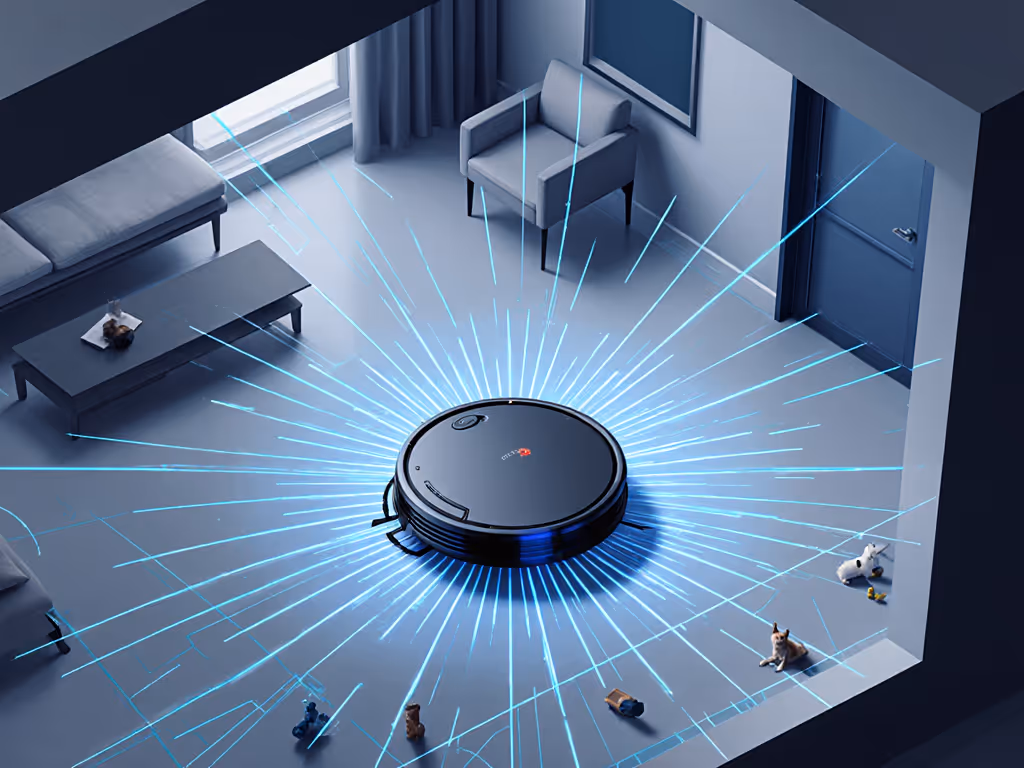
Q: How does it avoid obstacles without getting stuck?
A: It's not just sensors, it's smart fusion. Basic bots use cliff sensors (to avoid stairs) or bump sensors (to reverse when hitting walls). But modern obstacle avoidance technology combines:
- Laser distance sensors (for immediate threats like cords)
- 3D structured light (to see low obstacles like shoelaces)
- AI object recognition (trained to spot shoes, pet bowls, socks)
This is sensor fusion in action. Example: Roborock's Reactive Tech Obstacle Avoidance uses all three to slow down before hitting a chair leg, not after. It's why advanced models rarely need rescues in lived-in spaces.
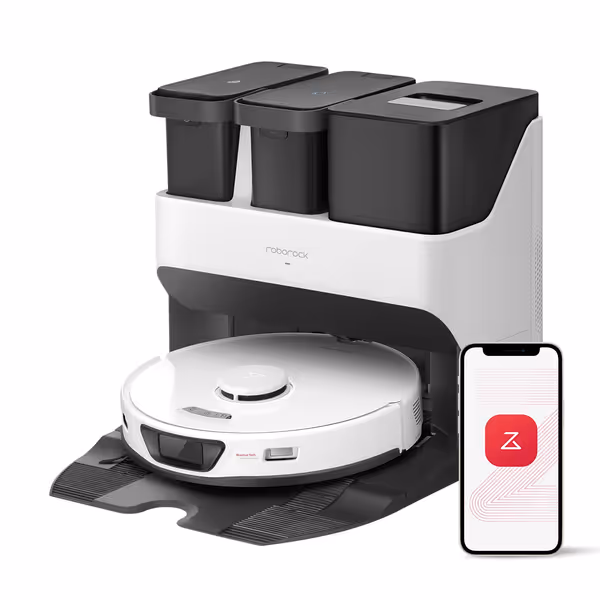
Roborock S7 Max Ultra
Hands-free cleaning with auto-emptying, washing, and 5500Pa suction.
$1299.99
Suction Power5500 Pa
Suction Power5500 Pa
Pros
One dock for fully automated cleaning: self-washes, empties, refills, and dries mop.
Powerful 5500Pa suction for deep cleaning carpets and hard floors.
Cons
Mop functionality receives mixed reviews for long-term effectiveness.
Value for money and durability are inconsistent among users.
Customers find the robotic vacuum cleaner effective at cleaning floors and appreciate its accurate mapping capabilities. The functionality receives mixed reviews - while the vacuum part works well, the mop portion stops functioning correctly. Customers disagree on the value for money, with some saying it's worth every penny while others find it not the best for price. Durability is also mixed, with some finding it dependable while others report it breaking within a year. The dirtiness aspect receives mixed feedback, with some noting it's great for hard floors where dust is visible, while others report it getting stuck frequently.
Customers find the robotic vacuum cleaner effective at cleaning floors and appreciate its accurate mapping capabilities. The functionality receives mixed reviews - while the vacuum part works well, the mop portion stops functioning correctly. Customers disagree on the value for money, with some saying it's worth every penny while others find it not the best for price. Durability is also mixed, with some finding it dependable while others report it breaking within a year. The dirtiness aspect receives mixed feedback, with some noting it's great for hard floors where dust is visible, while others report it getting stuck frequently.
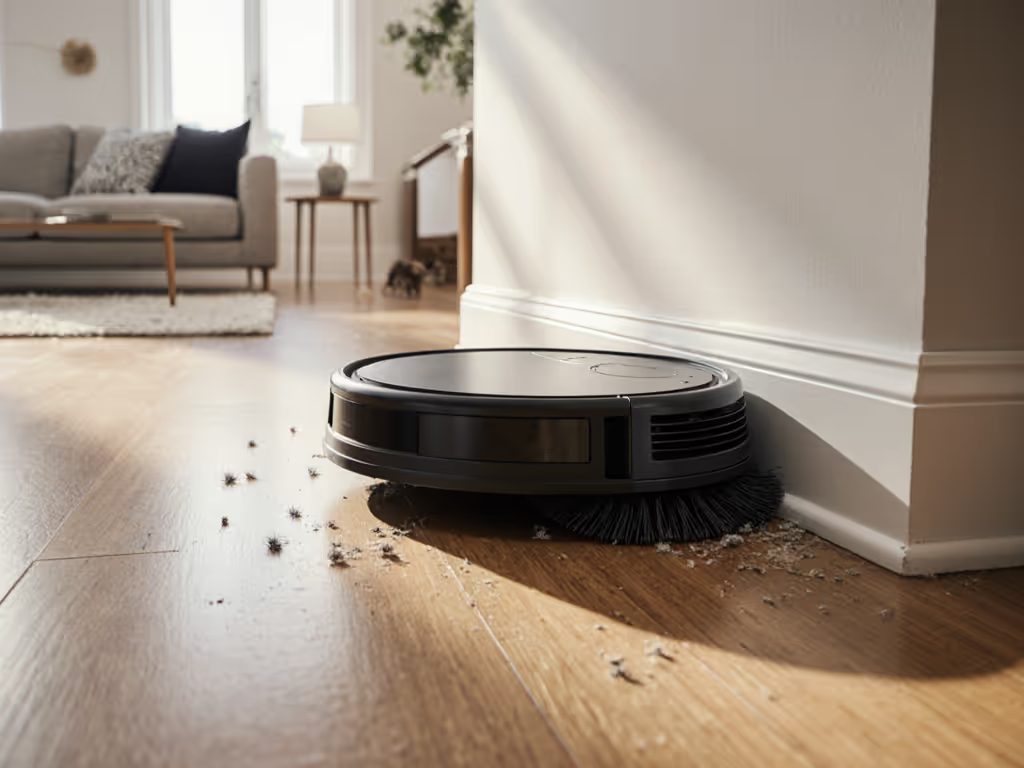
Q: My robot keeps missing spots near walls. Why?
A: Edge cleaning fails 9 times out of 10 from poor mapping. When the vacuum first maps your home, it sets virtual boundaries. If it skimps on room edges during mapping? Those zones get ignored forever. Fix the snag, not the schedule: During initial setup, physically block doorways so the robot cleans one room at a time. Forces it to hug every wall. Repeat until the map shows crisp room outlines, no fuzzy borders.
The Critical Step 90% of Owners Skip (Map Verification)
You ran the map. You named rooms. Don't skip this: Open the app and verify the map before saving it. Look for:
- Gaps between rooms (indicates missed spots)
- Misnamed zones ("Living Room" labeled as "Kitchen")
- Ghost walls (phantom lines from sensor glitches)
A quick story: I once set up my sister's robot remotely. We timed it to her coffee brew, smooth until she named her dining area "Dinning." One typo. For a week, routines failed because the app couldn't find "Dinning." Now? I drill new owners: "Name rooms exactly like your floor plan. Verify. Then verify again."
Simple setup today prevents headaches for the next thousand runs.
Troubleshooting Real-World Navigation Fails
Scenario: Robot gets stuck on thresholds or rugs
- Why: Most threshold sensors work up to ¾-inch height. Thick rugs or uneven tiles trick them.
- Fix: Place a thin runner (like a yoga mat) to ease the transition. Or use the app to set a virtual barrier just before the threshold, so the robot approaches slower. For step-by-step setup of virtual barriers and custom zones, see our Robot Vacuum App Guide.
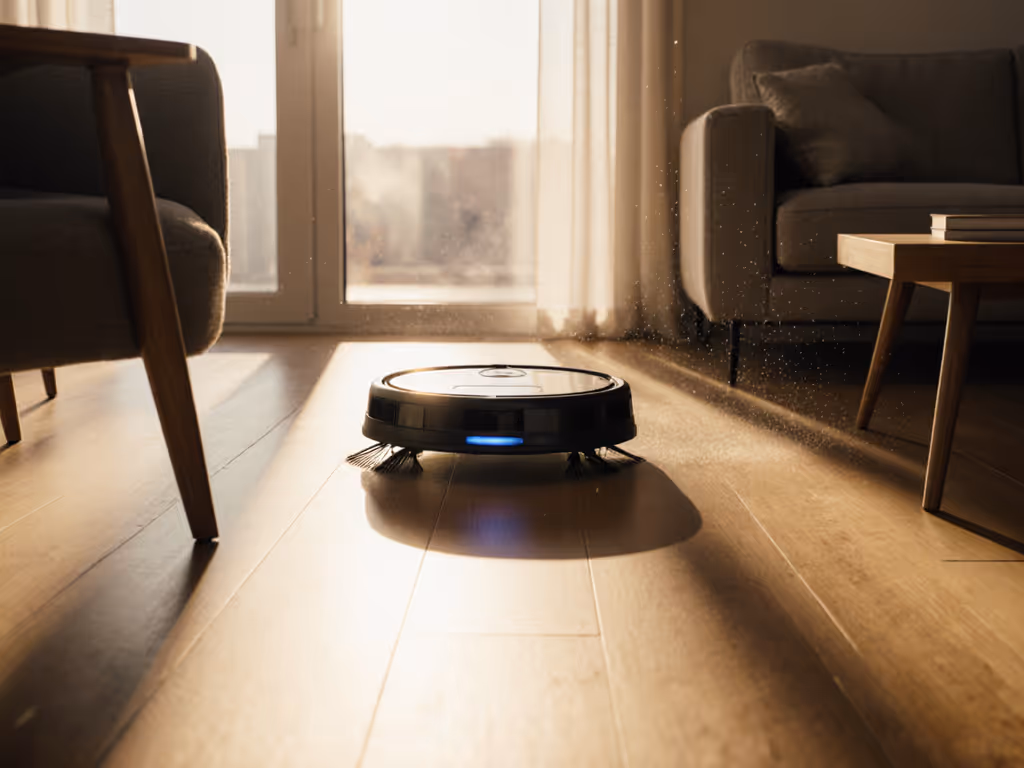
Scenario: Random cleaning in "exploration" mode
- Why: Low light broke camera navigation, or the robot lost its map position.
- Fix: Ensure windows aren't reflecting light onto sensors. Reboot the dock (unplug 10 seconds). If persistent, switch to LiDAR-only mode if available.
Scenario: Ignores no-go zones near stairs
- Why: Cliff sensors might override app boundaries if the robot detects a drop.
- Fix: Never rely solely on virtual walls for stairs. Keep physical barriers (like baby gates) as backup. Cameras/LiDAR can misjudge drop heights on carpeted stairs.
Making Navigation Work for Your Home (Actionable Checklist)
- Clear the path first: Pick up socks, cords, and loose chair legs before mapping. Obstacles confuse initial mapping.
- Map room-by-room: Close doors during setup. One room = one complete map. Stops the robot from rushing between zones.
- Verify in the app: Zoom into corners. Check for gaps. Rename any mislabeled areas (not "Dinning").
- Test edge cleaning: Place a coin near a wall. Run a small zone clean. If missed, recalibrate mapping.
- Update maps monthly: Drag new furniture in the app. Your home changes, your map should too.
Final Thought: Stop Chasing Features. Prioritize Stability.
You don't need the fanciest specs. You need smart mapping that stays accurate through toddler toy explosions and lazy Sunday clutter. A robot that knows your space intimately cleans smarter, not harder. That's when it transitions from gadget to genuine time-saver.
Your next step: Before your next clean, open the app. Check your map's accuracy. Verify one room's boundaries. It takes 90 seconds now to avoid rescues for months. Fix the snag, not the schedule.
Related Articles